Categories
Automated workflows
Implementing automated workflows with AllThatStats is that easy:
- subscribe for automated update information on database level -> key in your e-mail address at “Notify when Updated”
- save your time series selection by creating a report -> Watch List
- export your report(s) as soon as informed by e-mail -> My Account
- connect your reports permanently to your applications/sheets/foils
Example:
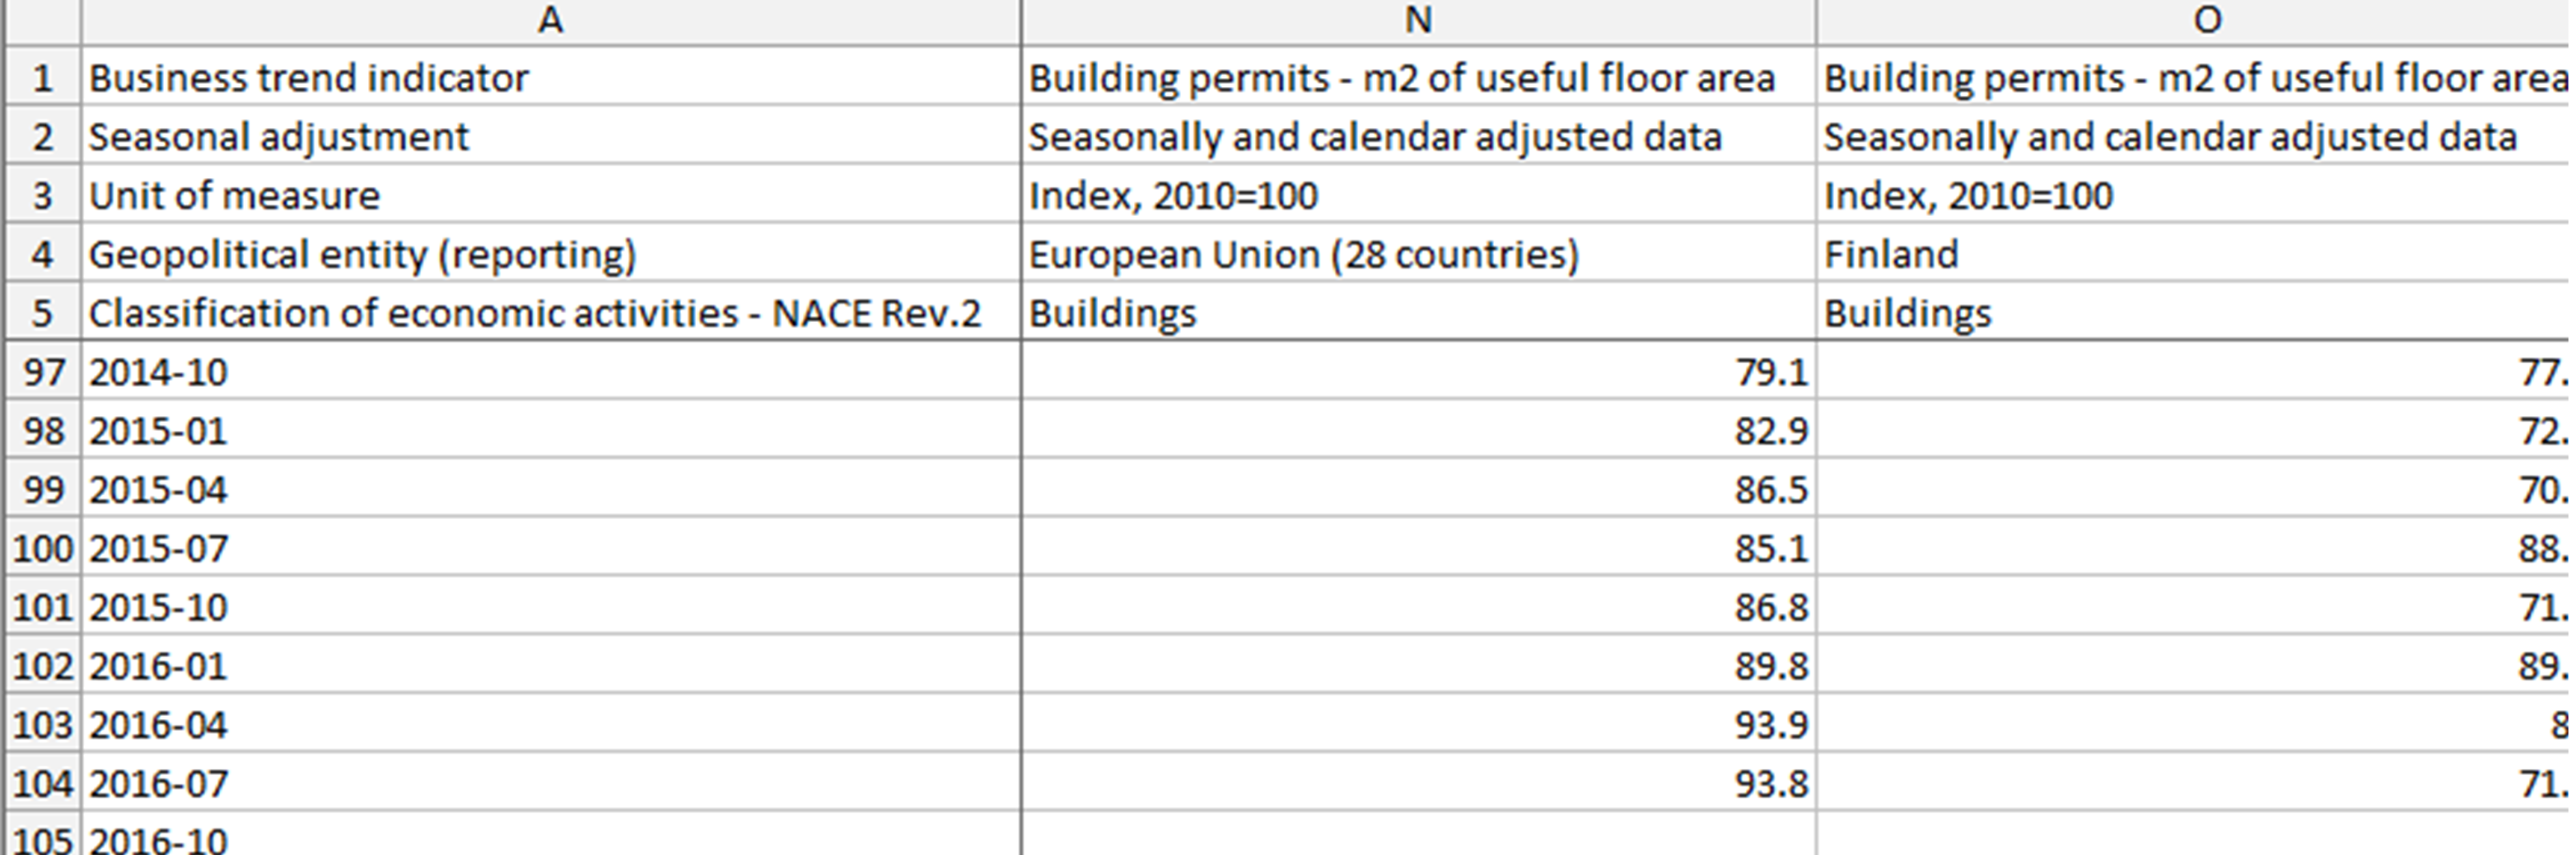
ATS report file:
Your Excel application file:
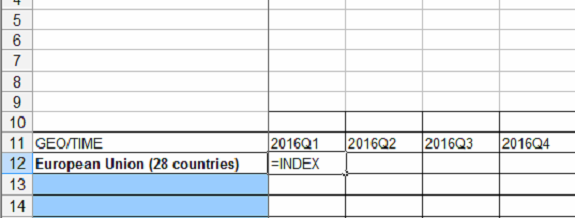
=INDEX…
Excel formula to connect your Excel files to ATS report files (example):
INDEX(‘YourPath[newReportName.xls]sheetName’!$A$1:$IV$65536;MATCH(IF(RIGHT(B$11;2)=”Q1”;LEFT(B$11;4)&”-01”;IF(RIGHT(B$11;2)=”Q2”;LEFT(B$11;4)&”-04”;IF(RIGHT(B$11;2)=”Q3”;LEFT(B$11;4)&”-07”;IF(RIGHT(B$11;2)=”Q4”;LEFT(B$11;4)&”-10”;”-“))));’YourPath[newReportName.xls]sheetName’!$A$1:$A$110;0);MATCH($A12;’YourPath\newReportName.xls]sheetName’!$A$4:$AL$4;0))
Excel formula in detail:
part 1: define the full data matrix in the ATS report file INDEX(‘YourPath[newReportName.xls]sheetName’!$A$1:$IV$65536;
part 2.1: if necessary rename the Excel file’s time format (here: “yyyyQq”) to the ATS report file’s format (here: “yyyy-qq”) (“B$11…” must be adapted to the position/format of the corresponding time variable as shown in the table header of your file) MATCH(IF(RIGHT(B$11;2)=”Q1”;LEFT(B$11;4)&”-01”;IF(RIGHT(B$11;2)=”Q2”;LEFT(B$11;4)&”-04”;IF(RIGHT(B$11;2)=”Q3”;LEFT(B$11;4)&”-07”;IF(RIGHT(B$11;2)=”Q4”;LEFT(B$11;4)&”-10”;”-“))));
part 2.2: define the time scale matrix in the ATS report file (normally the A-column, the range must be adapted if necessary or set to $A$1:$A$20000 or so…) ‘YourPath[newReportName.xls]sheetName’!$A$1:$A$110;0);
part 3: compare the country name in your Excel application file (here: “A12”, but may vary) with the country matrix in the ATS report files (here: line 4, but depending on the underlying database it may vary and has to be adapted correspondingly) MATCH($A12;’YourPath\newReportName.xls]sheetName’!$A$4:$AL$4;0))